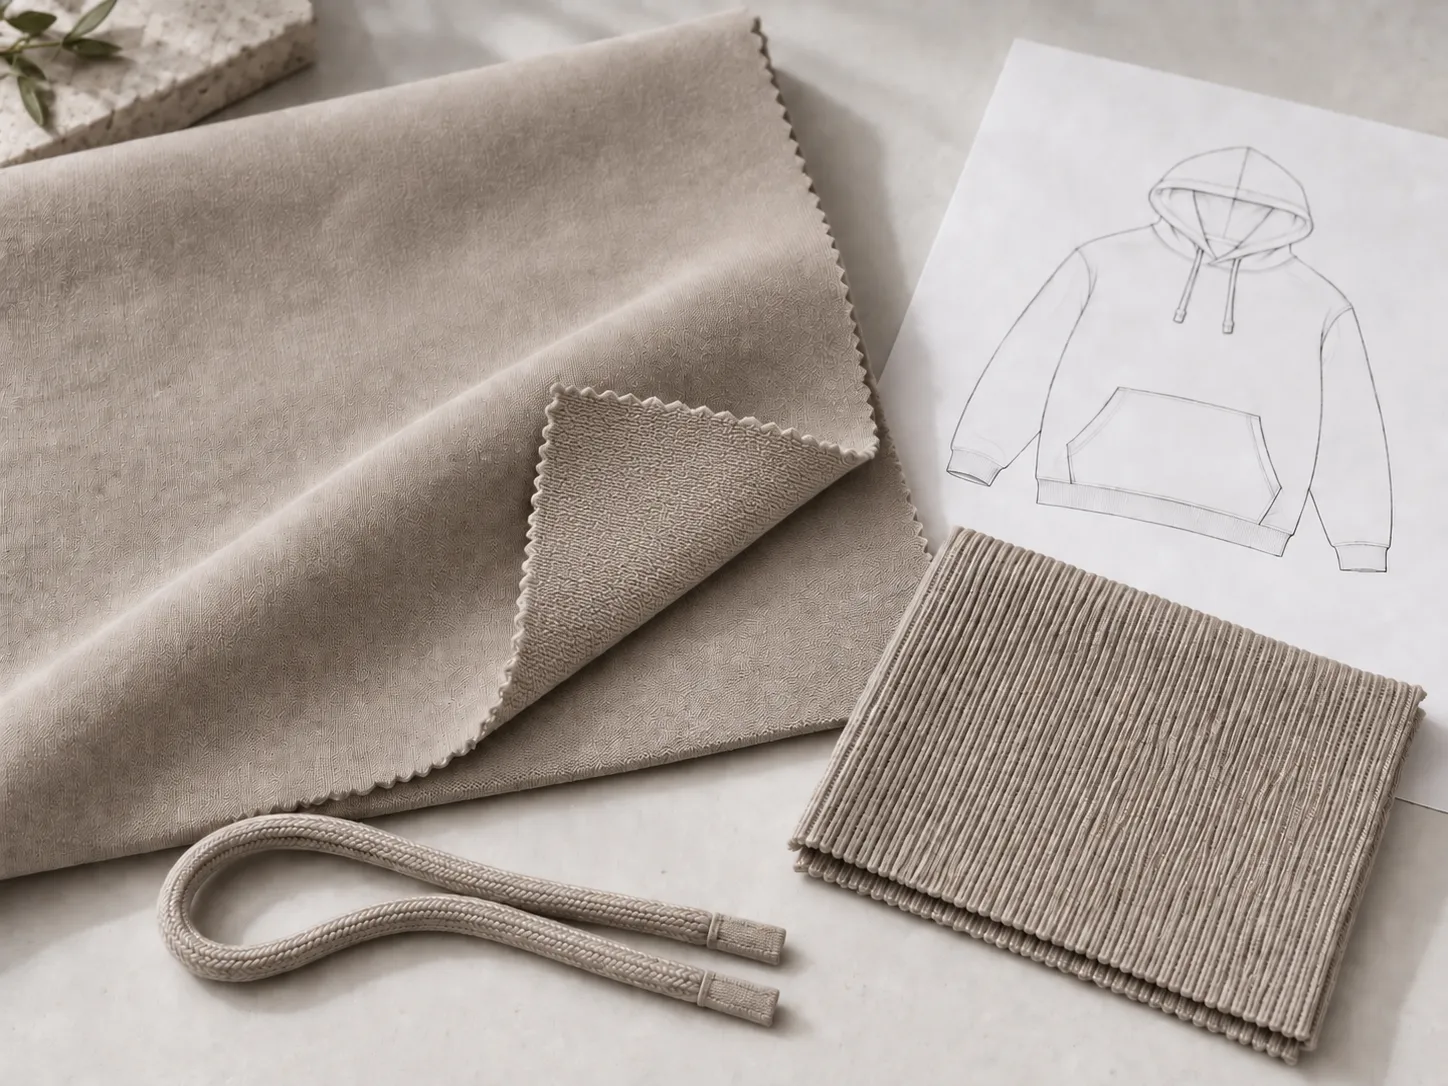
02.Define the fabric
Review composition, weight, surface, inside finish and color using physical references. Consider the rib, drawcord and decoration alongside the main fabric, then record the agreed material choices.
From the garment brief to the packed order, explore the main stages of hoodie production. Workshop photos show the work involved, while garment references help explain fit and branding choices.
The approved sample guides production. Fabric, construction and decoration determine the working sequence; printing and label attachment can take place at different stages for different designs.
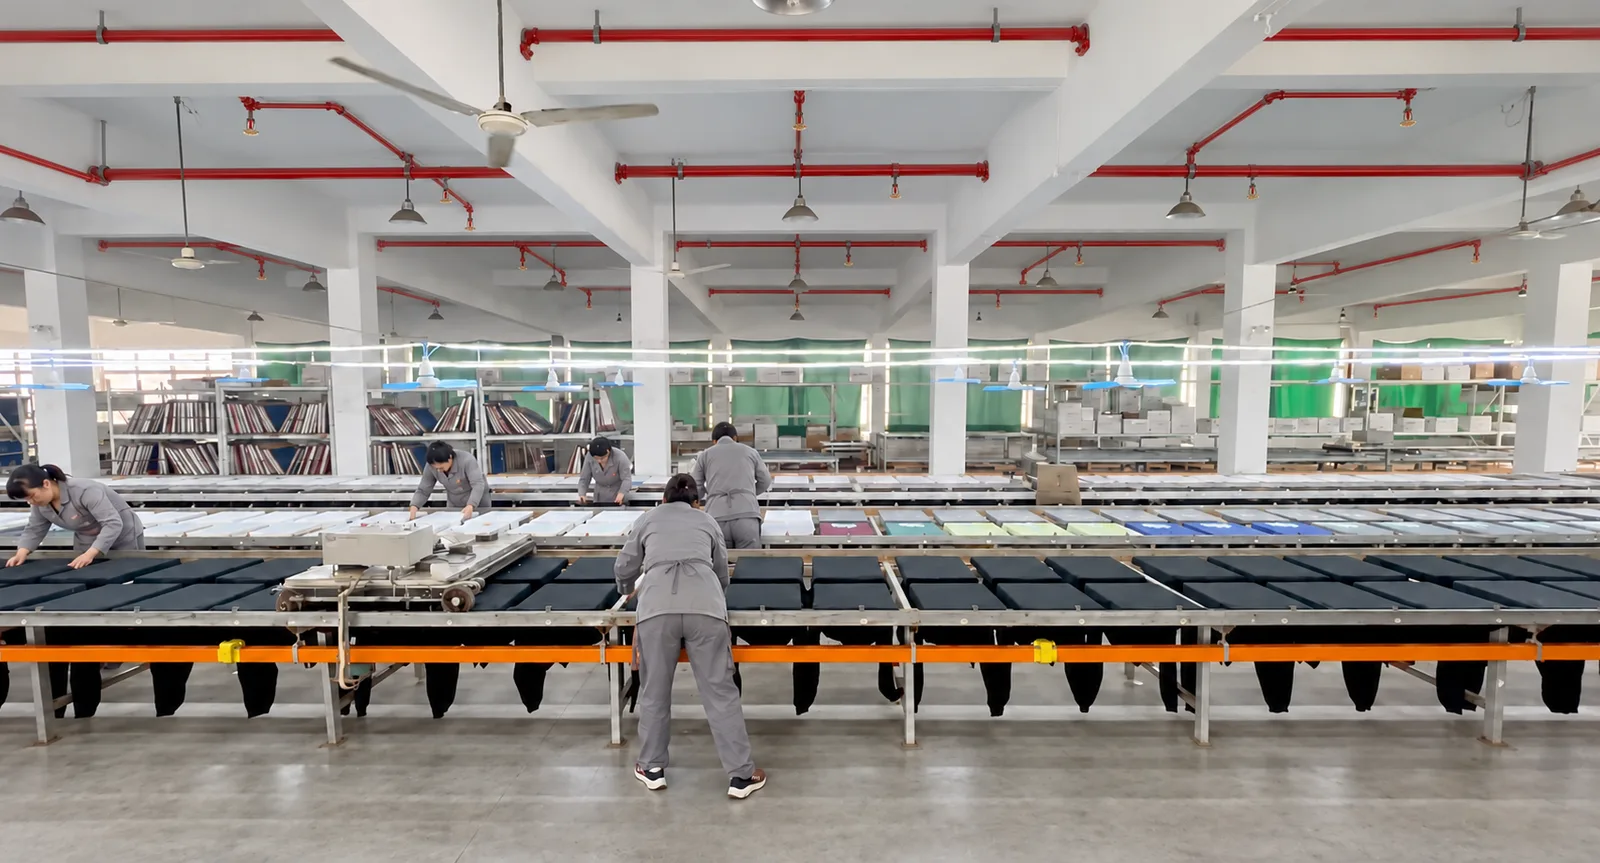
Define the silhouette, fabric direction, measurements, artwork and labels. Here, the reference is a relaxed pullover with a kangaroo pocket, matching drawcords and a plain back.
An existing garment can help explain the fit you want. For an original design, work through a development sample and record any revisions. A blank garment sample and a finished decoration sample answer different questions.
See the sample and ordering steps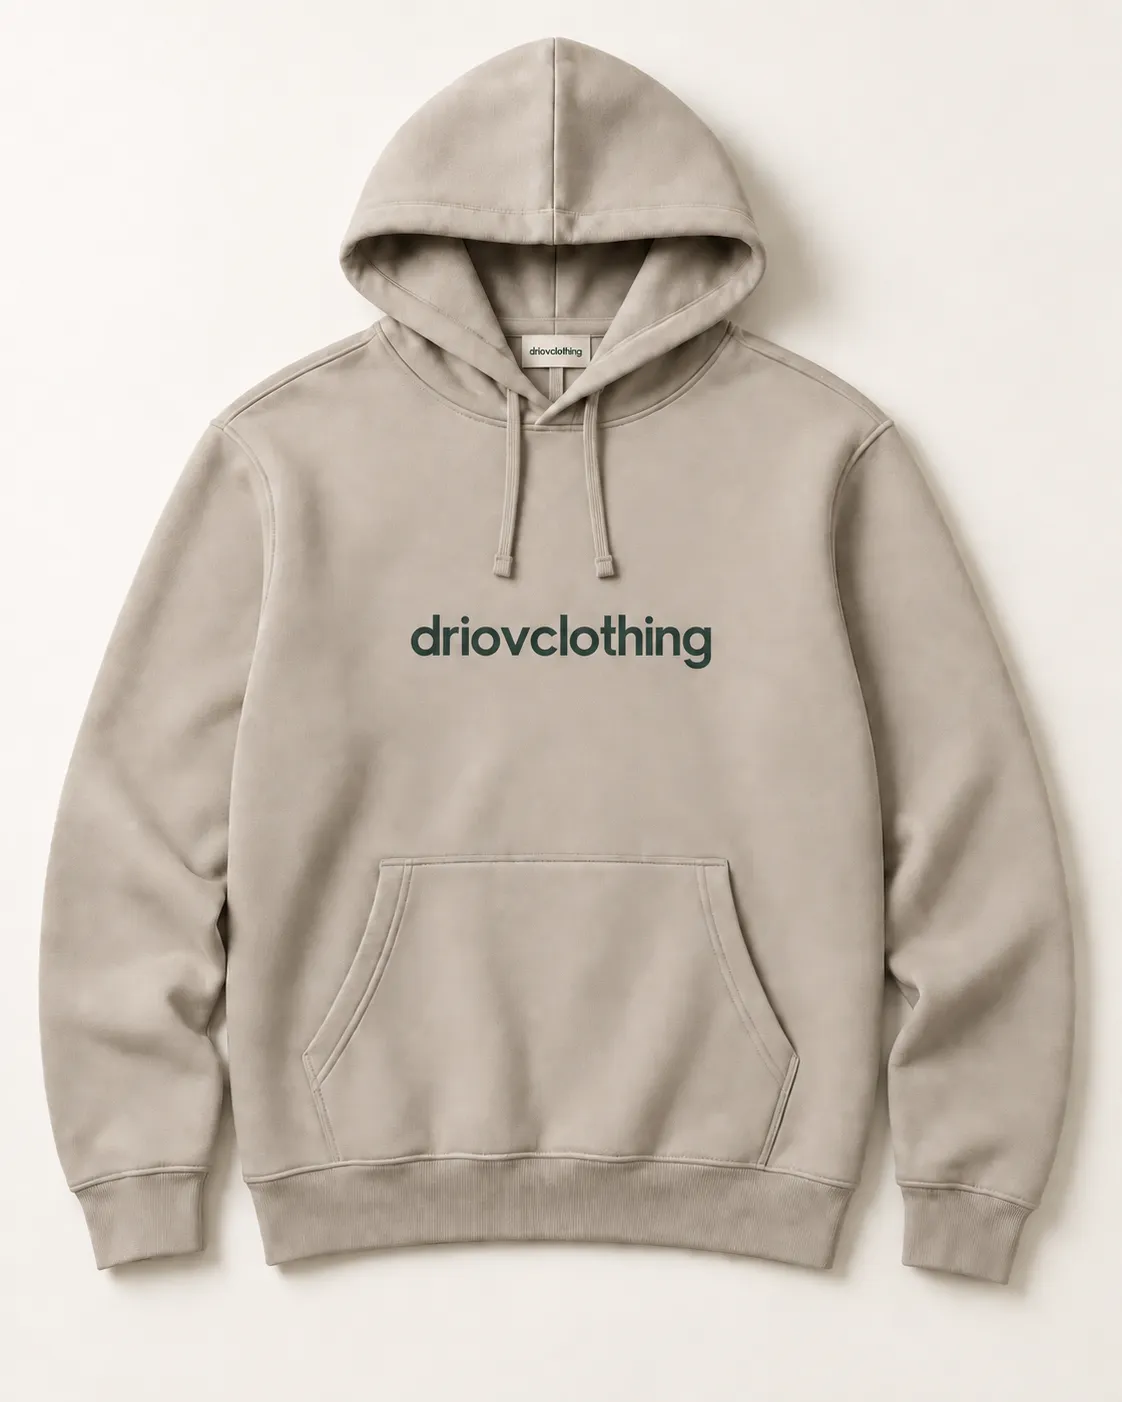
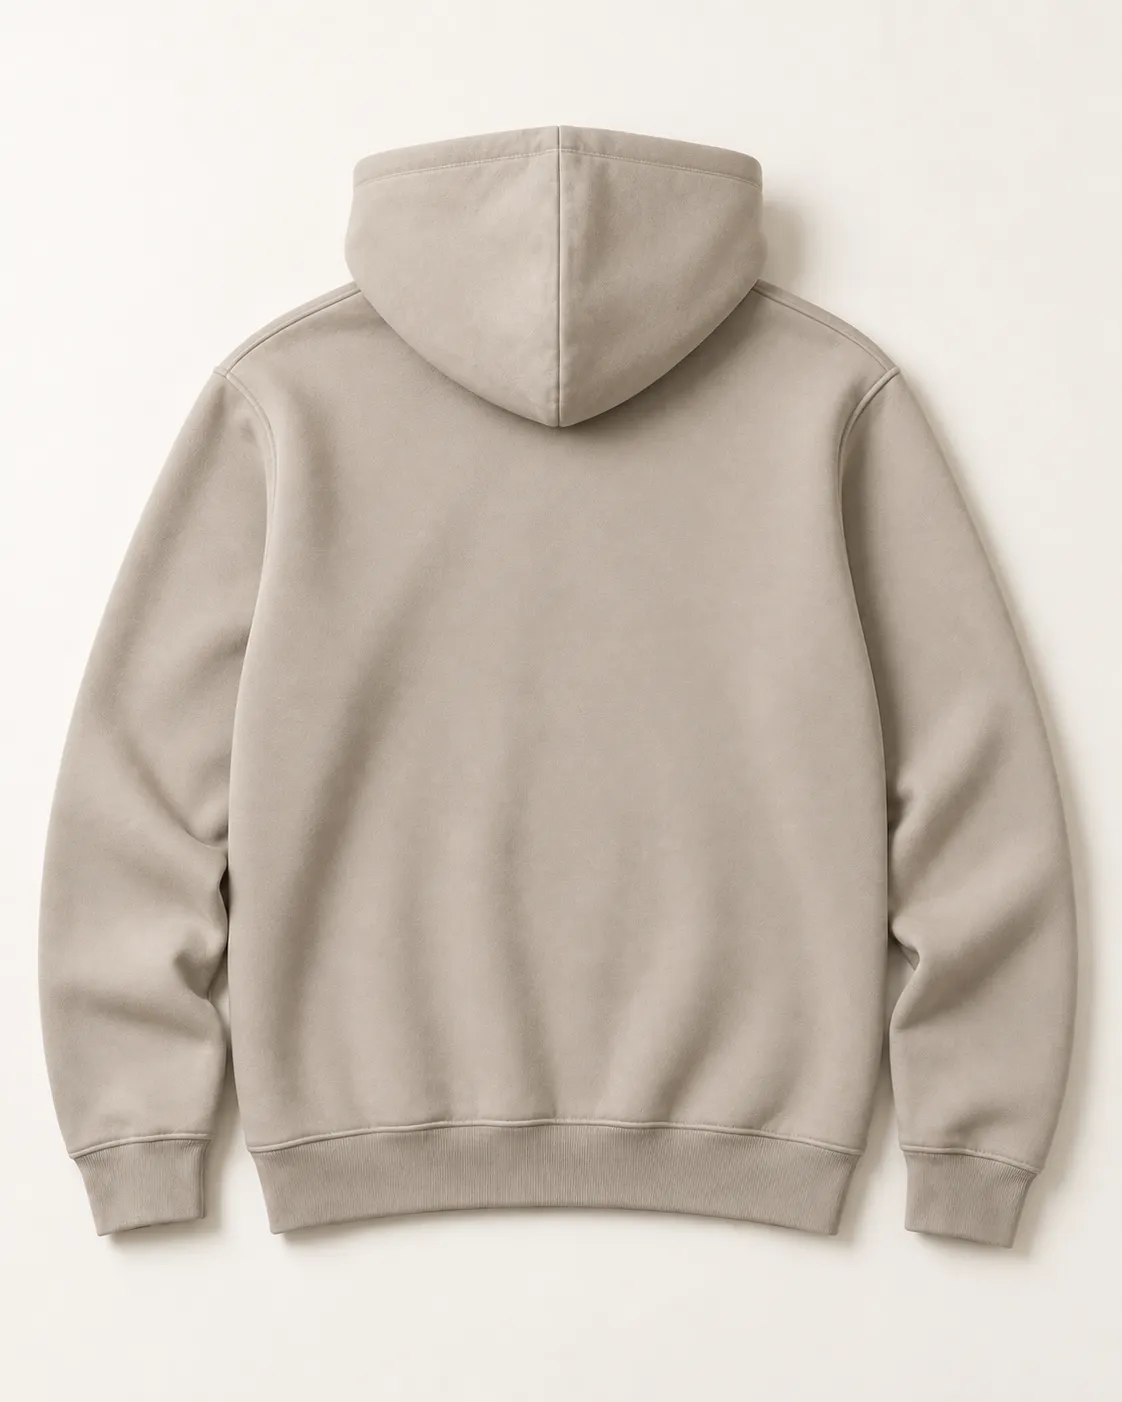
Materials and fit develop together. Keep the approved sample, measurements and artwork on the same revision before moving into bulk production.
Review composition, weight, surface, inside finish and color using physical references. Consider the rib, drawcord and decoration alongside the main fabric, then record the agreed material choices.
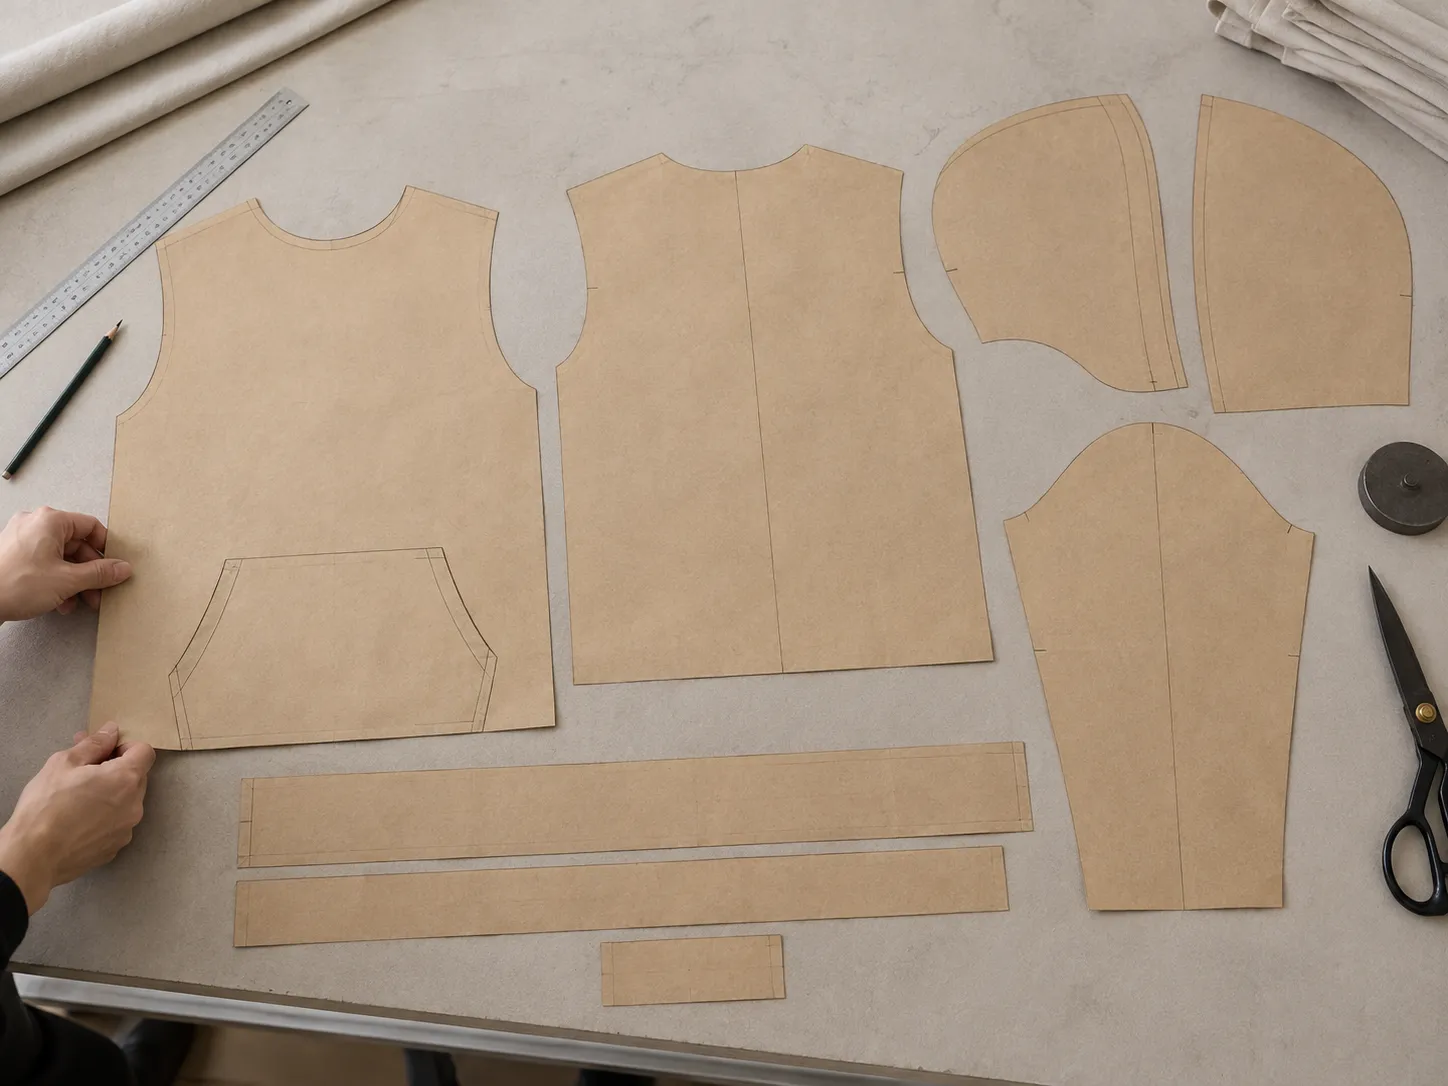
Translate the intended fit and construction into a pattern and development sample. Check the body, sleeve, hood and pocket together. Sample revisions refine the shape before the approved pattern is used for the order.
Cut panels move into decoration and assembly according to the garment plan. These workshop views show the separate operations.
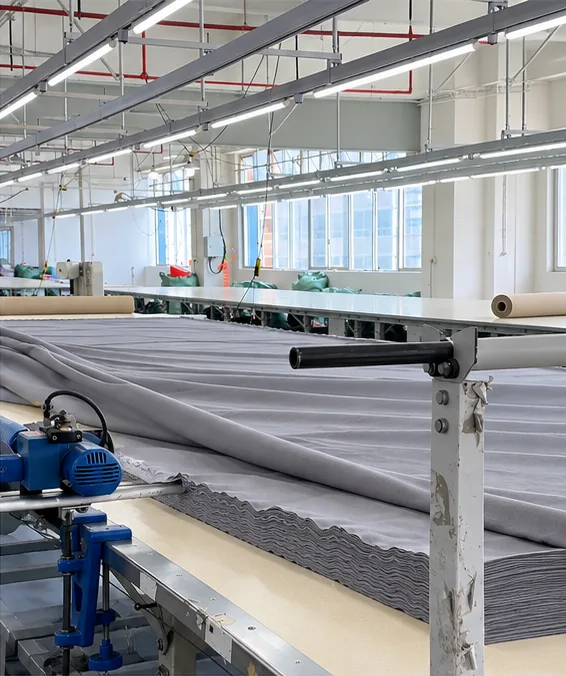
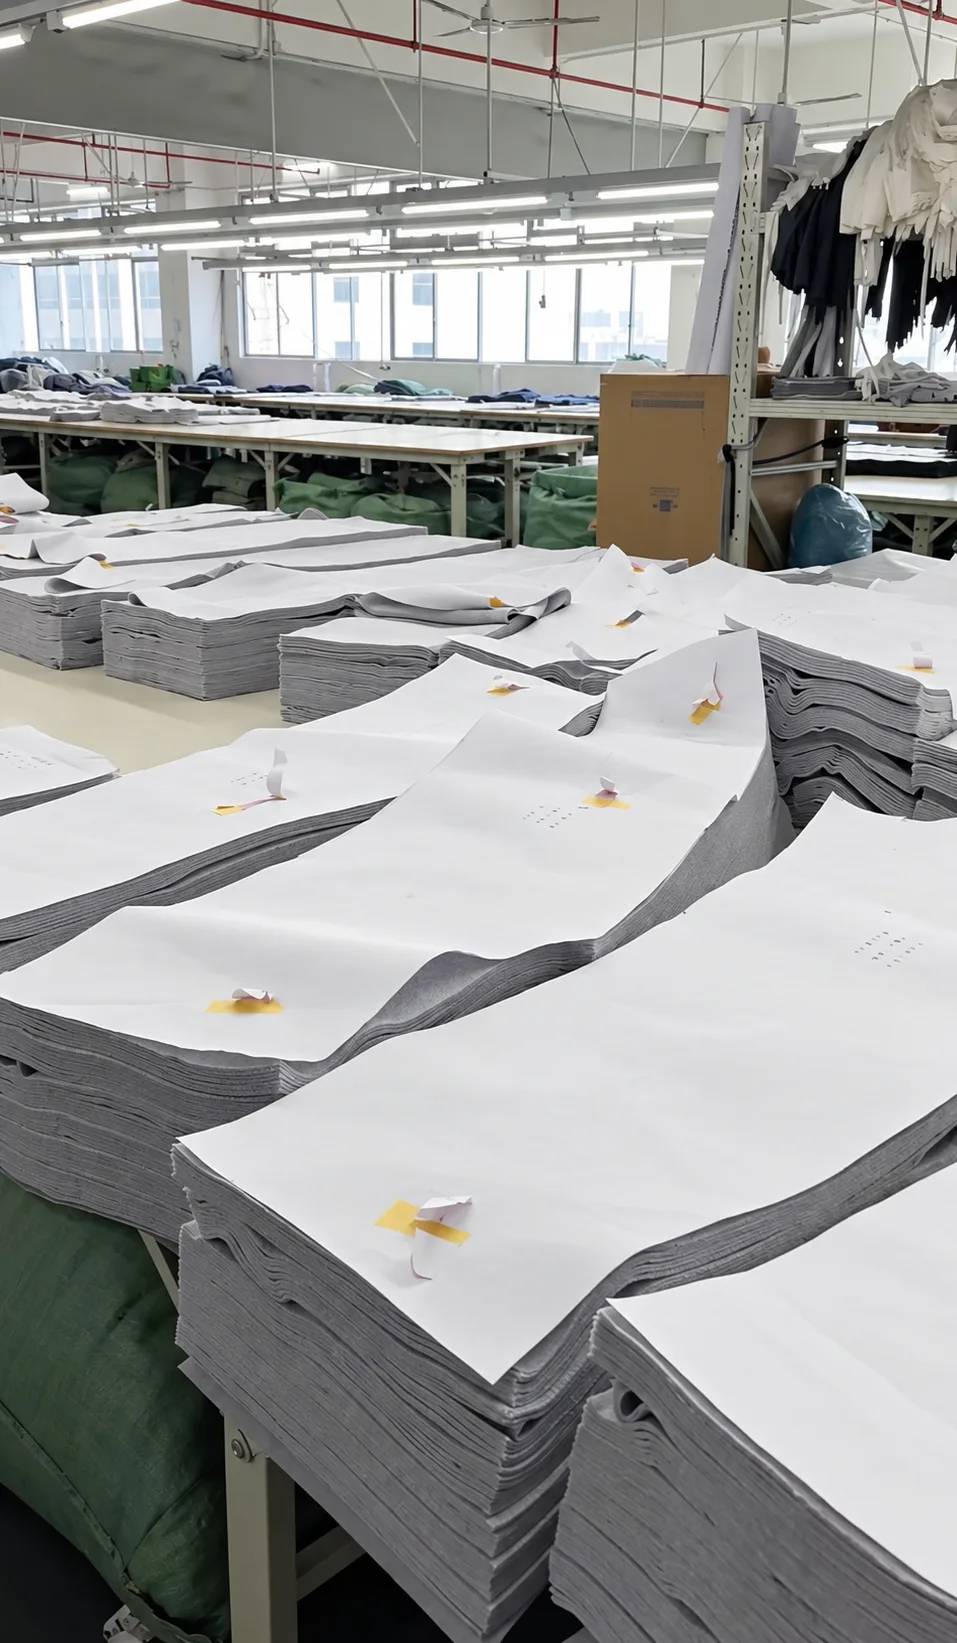
Lay the fabric in layers on the cutting table, then cut to the approved pattern and size plan. Keep matching panels grouped by size and color so the right pieces move into printing and sewing together.
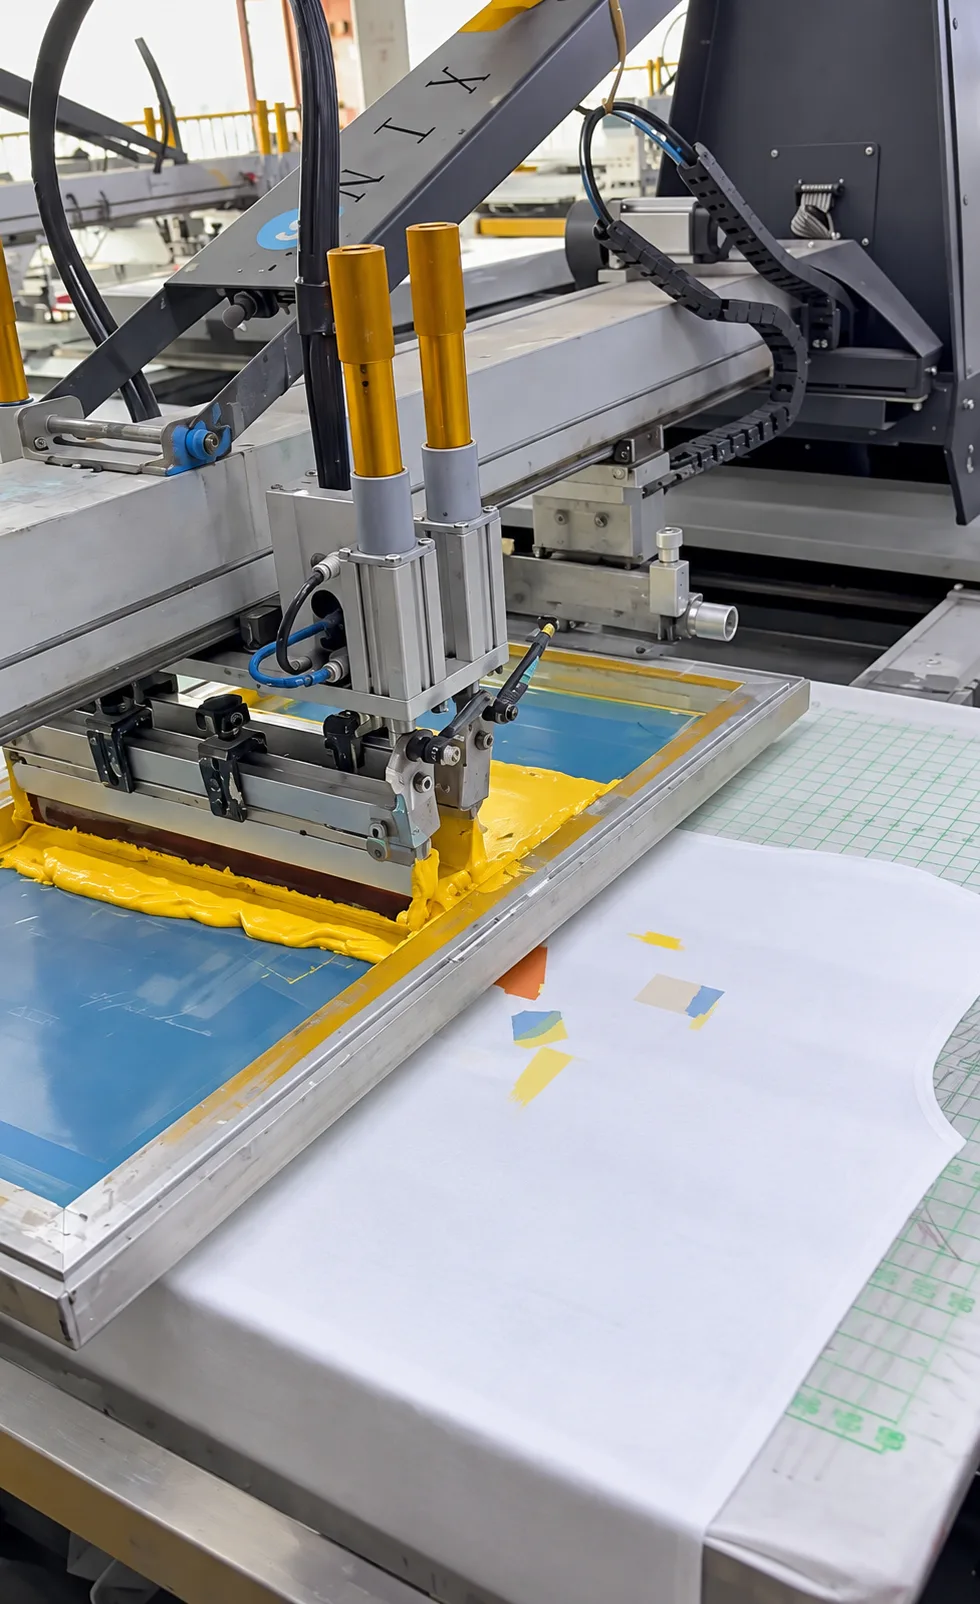
Screen printing is shown here. Review artwork, colors and placement on the chosen fabric before production. Your print method and garment construction determine whether the design is applied to cut panels or an assembled garment.
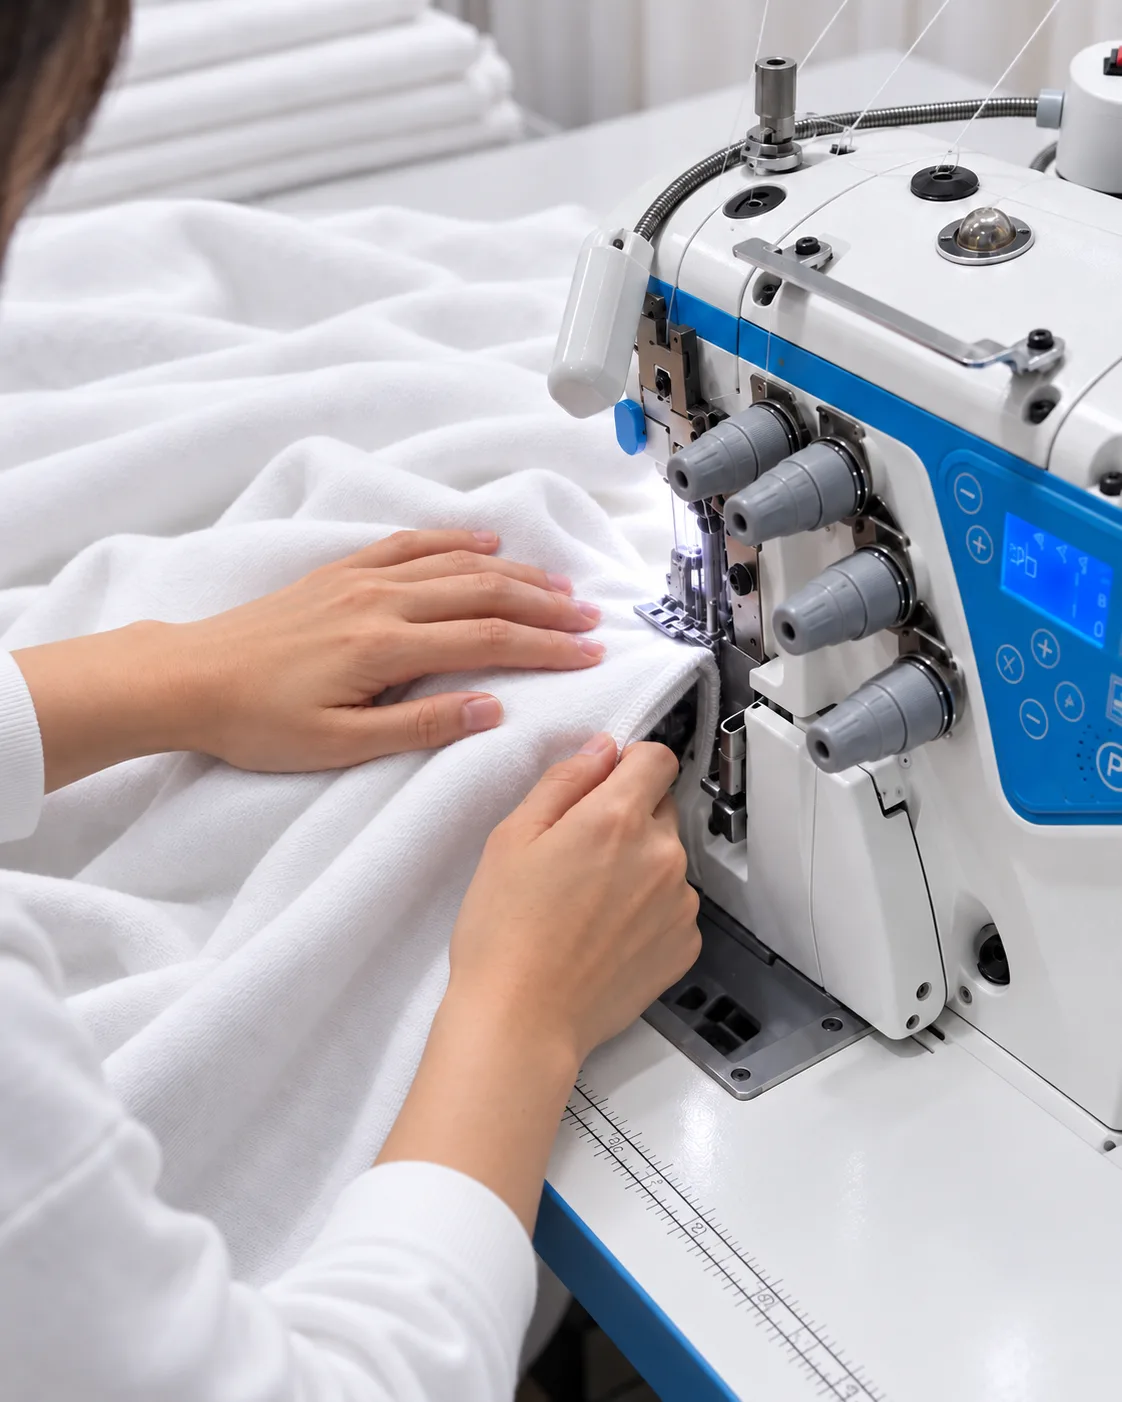
Join the body, sleeves, hood and pocket, then attach the cuffs and hem. Follow the agreed seam construction and check that matching panels sit together as intended.
Construction, branding and measurements are reviewed as a complete garment. Label attachment may take place during sewing, depending on its position.
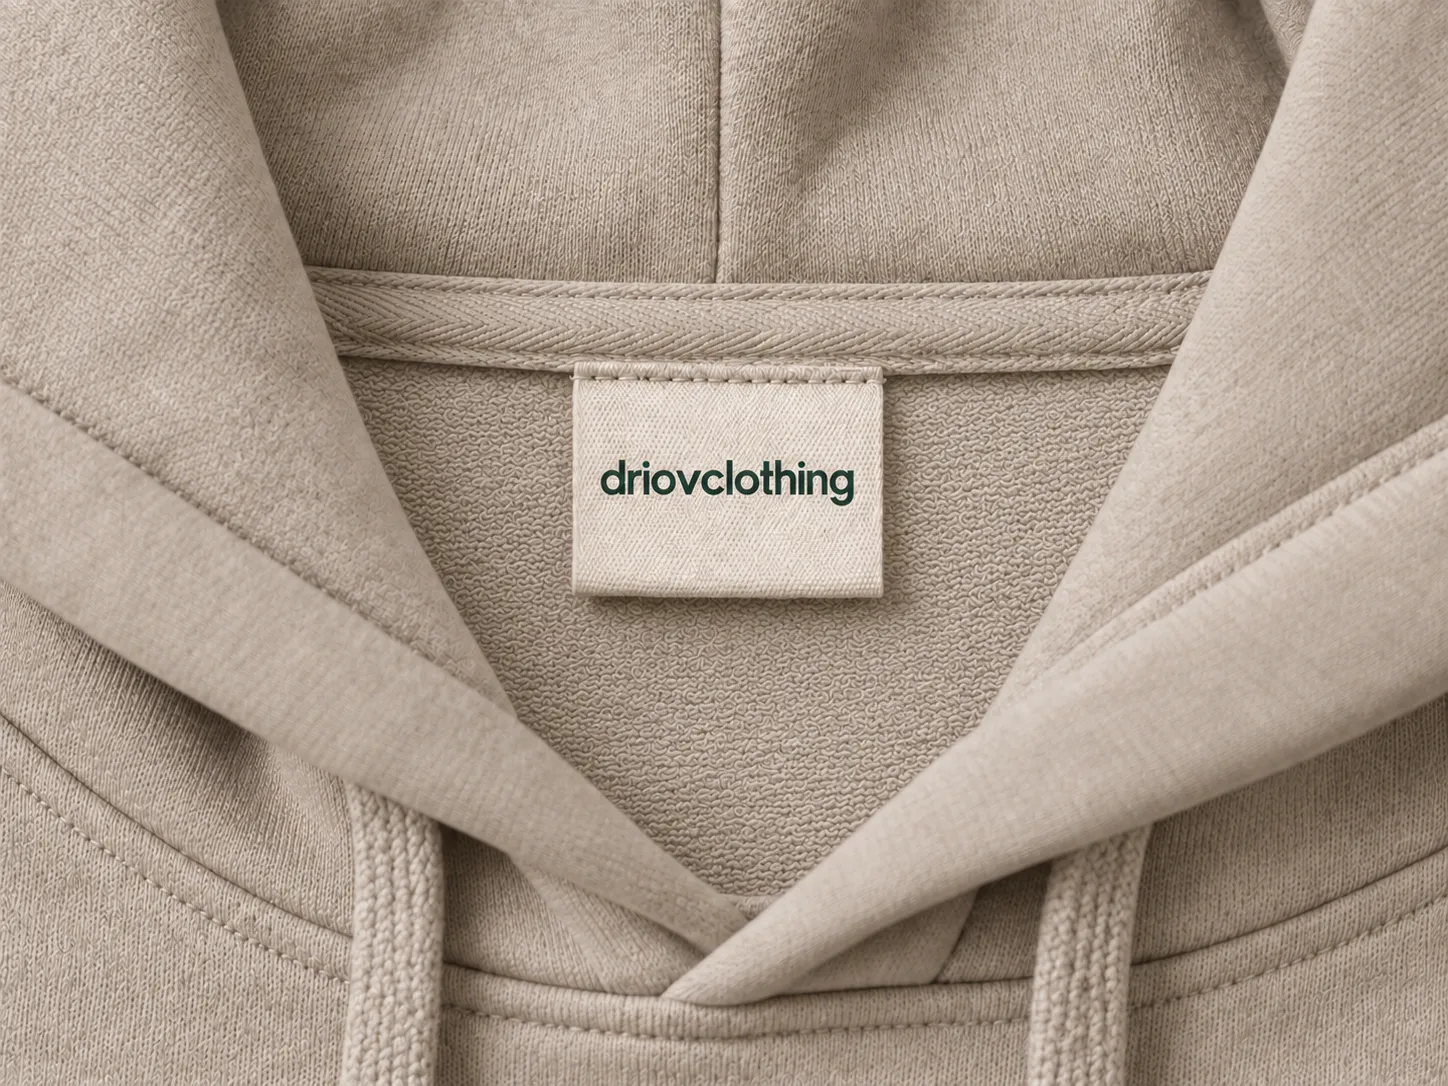
Apply the agreed neck, size and care labels at the appropriate assembly stages. Match wording, placement and size information to the approved garment specifications.
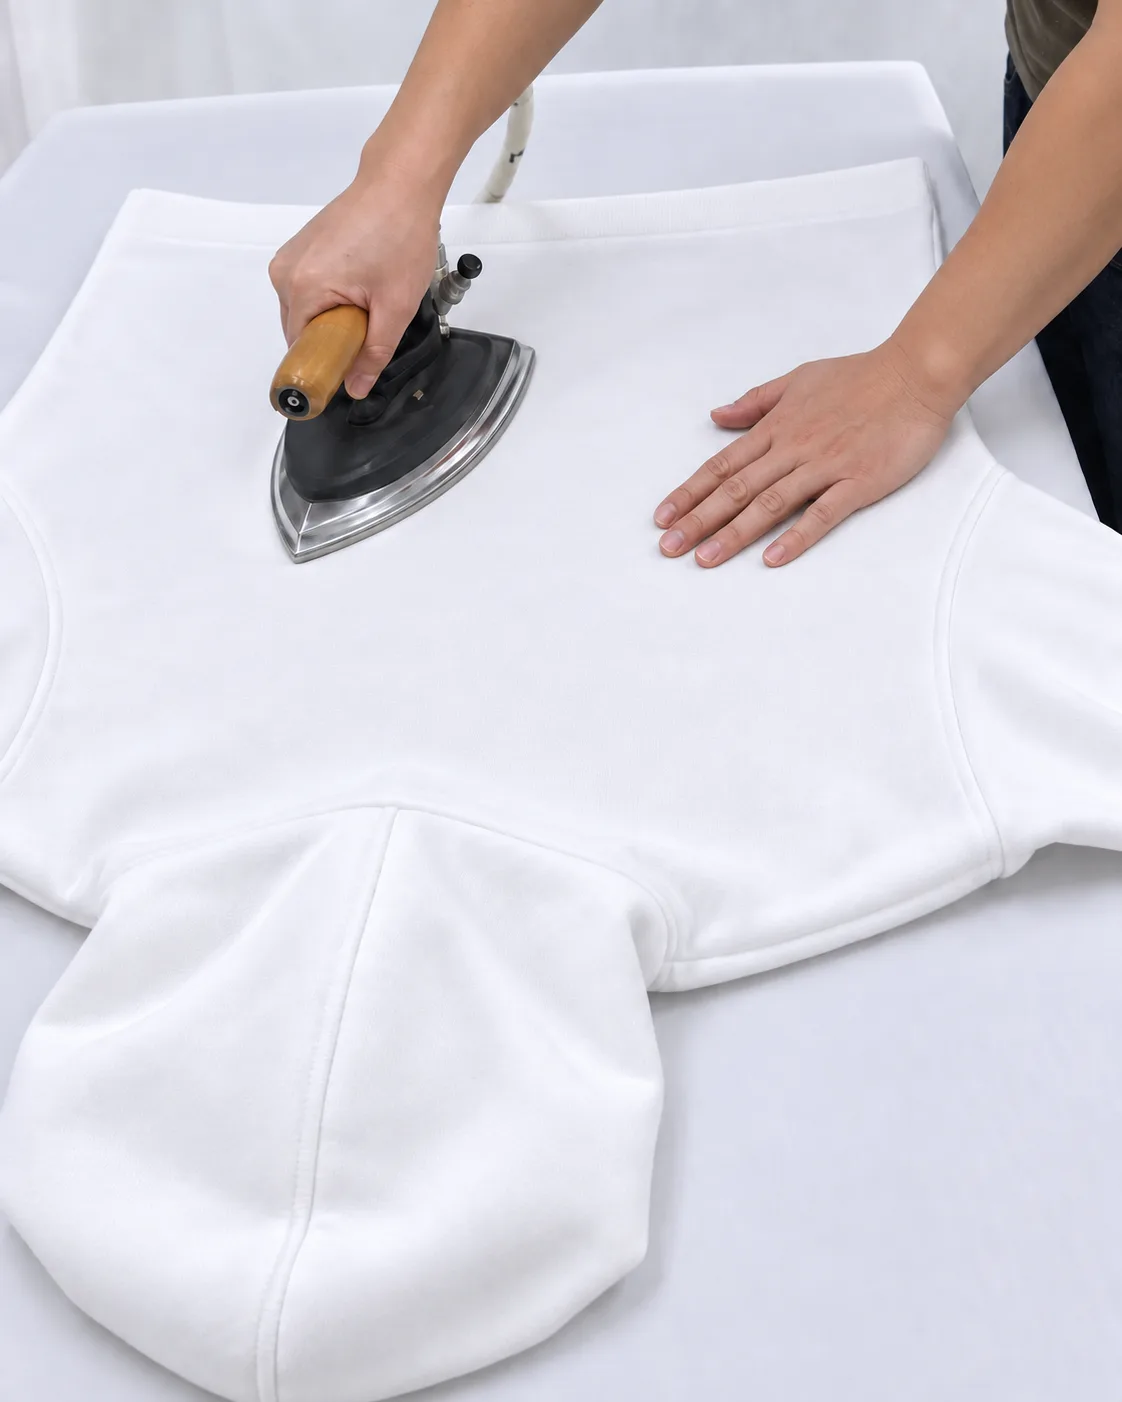
Tidy thread ends and press the garment using an approach suited to its fabric and decoration. Review the shape and surface, taking care around printed areas and trims.

Review stitching, decoration and labels against the approved sample. Check dimensions at the agreed measurement points and resolve discrepancies before packing. The photo shows a seam being examined by hand.
Bring folding, hangtags, individual packing and carton instructions into the order brief. Check the style, color, size and quantity breakdown against the agreed packing list.
A folded blank hoodie in an individual bag shows one packing format. Confirm the labels, hangtags and packing requirements for your branded order alongside the garment specification.
View label and packaging options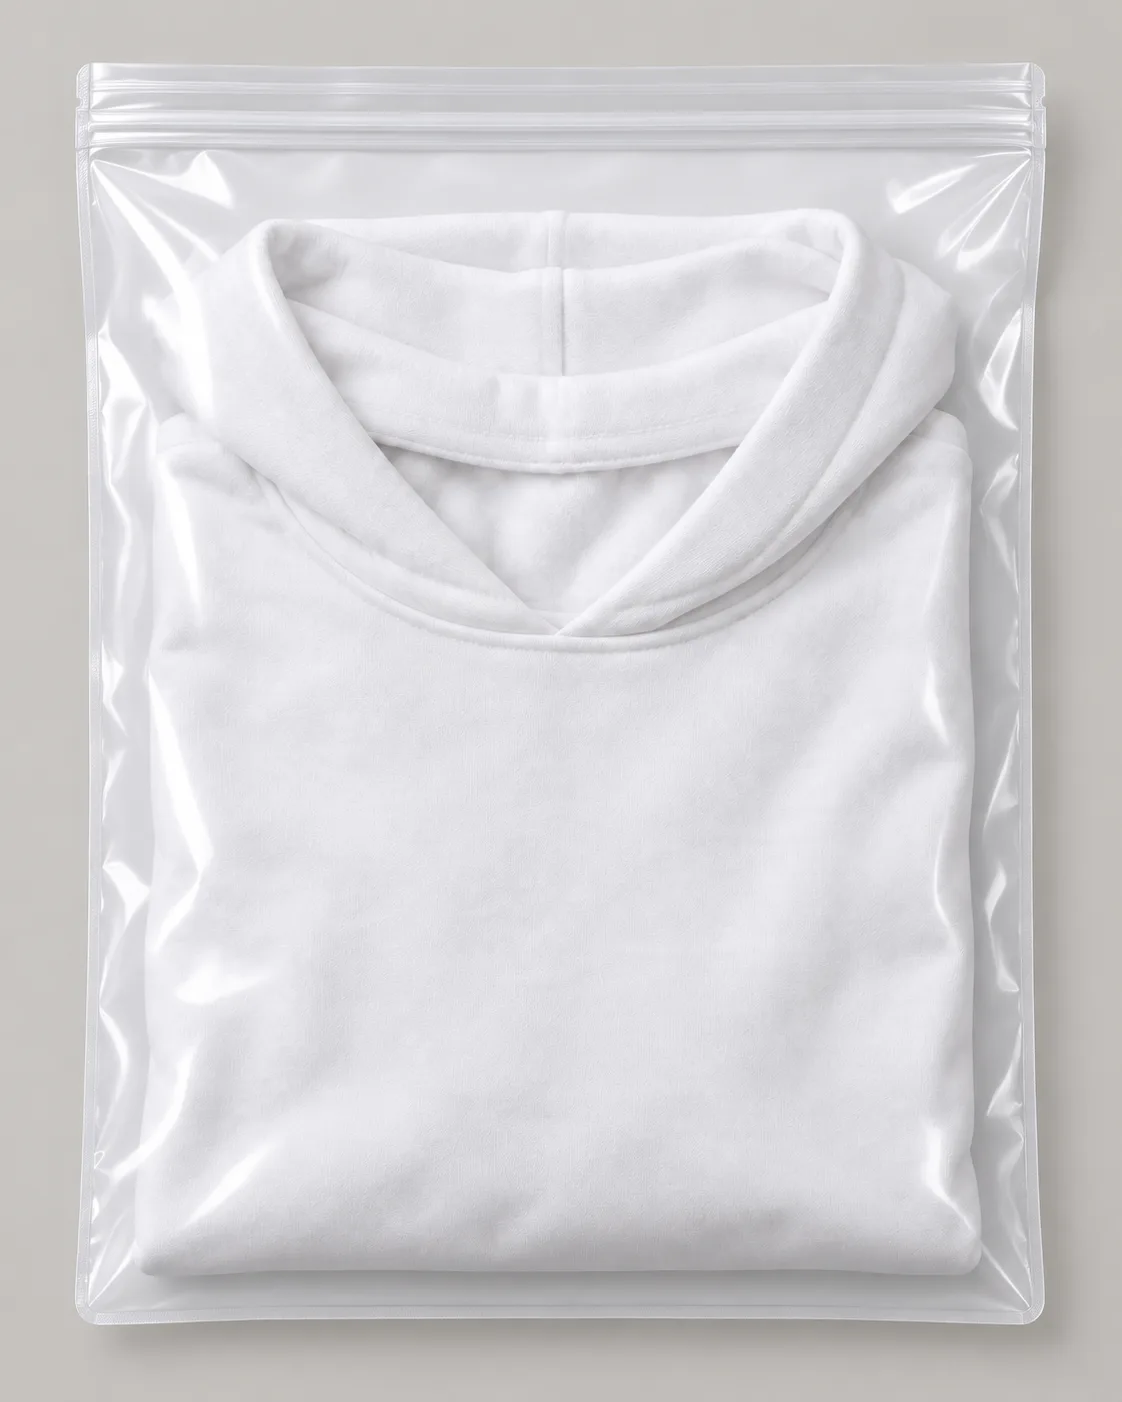
Fabric preparation, seam construction and finishing details from the workroom.
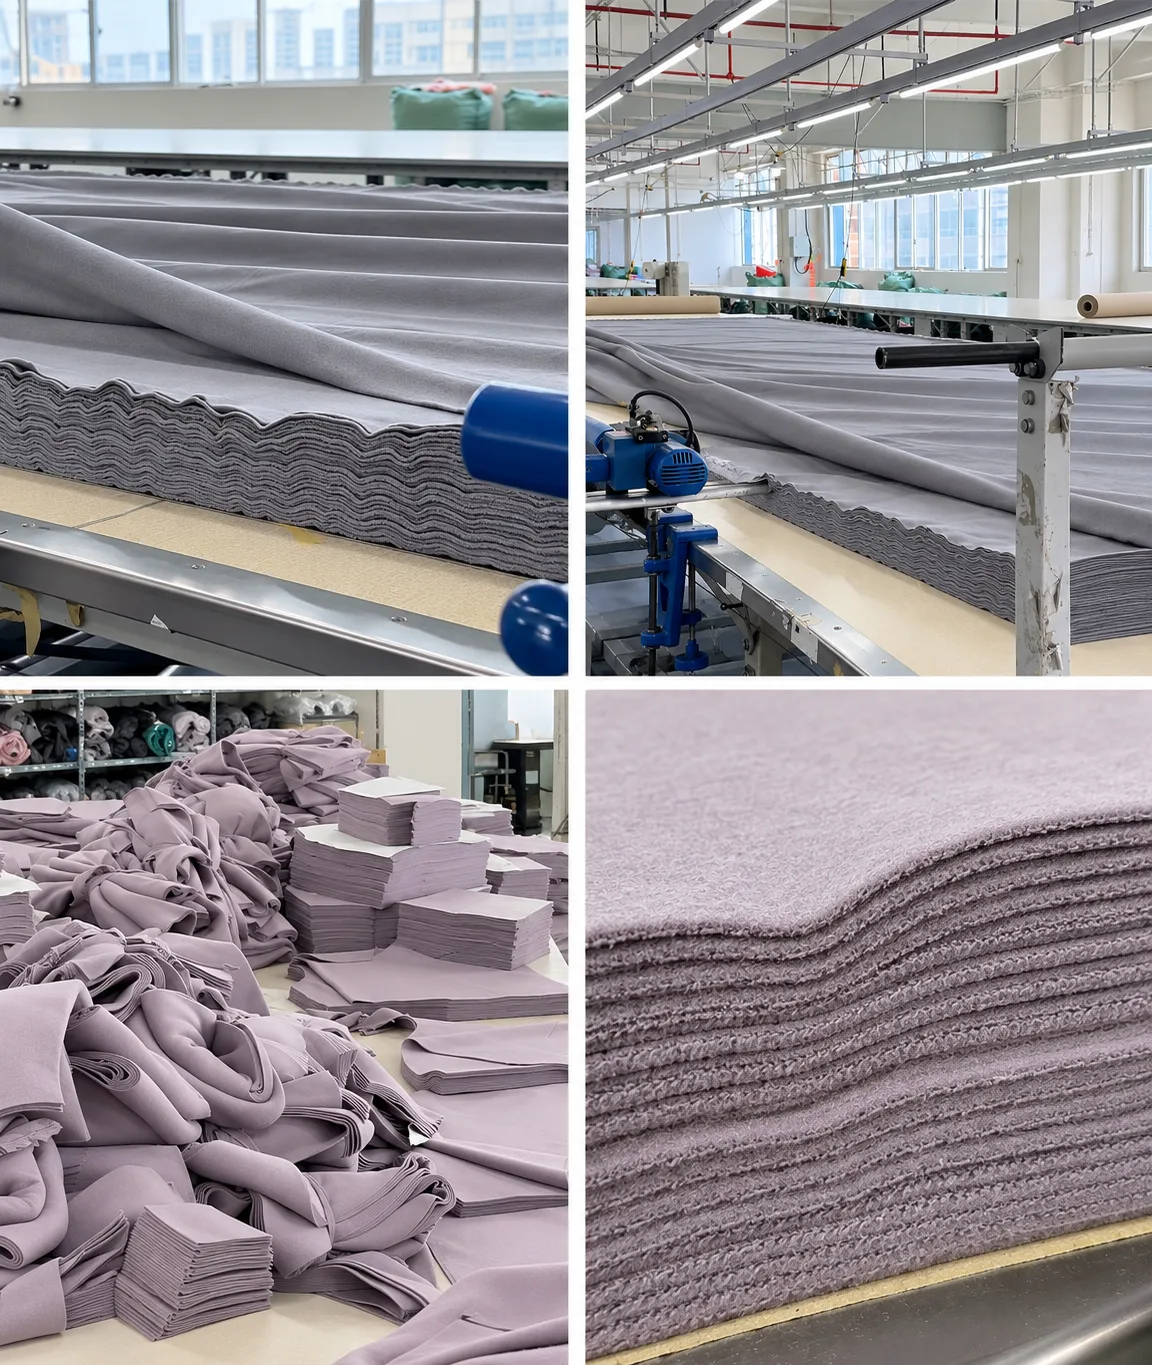
The wider view connects the cutting table with the separate garment pieces. Review the size plan and fabric direction before matching panels move into sewing.
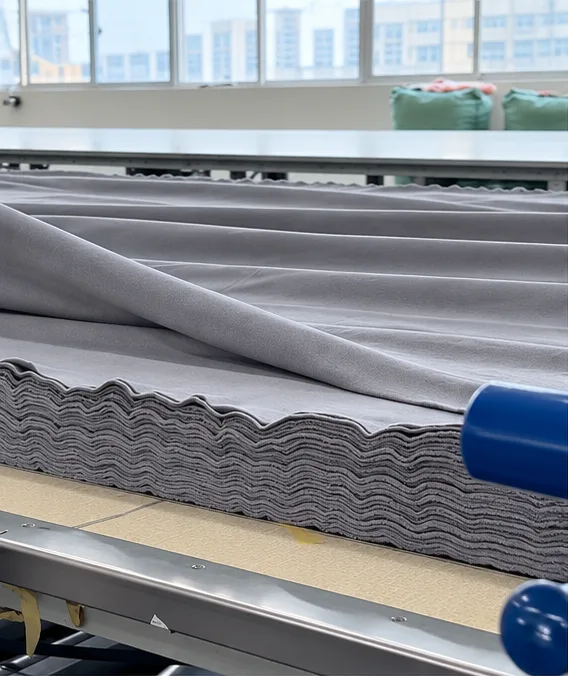
Fabric spread in layers on the cutting table.
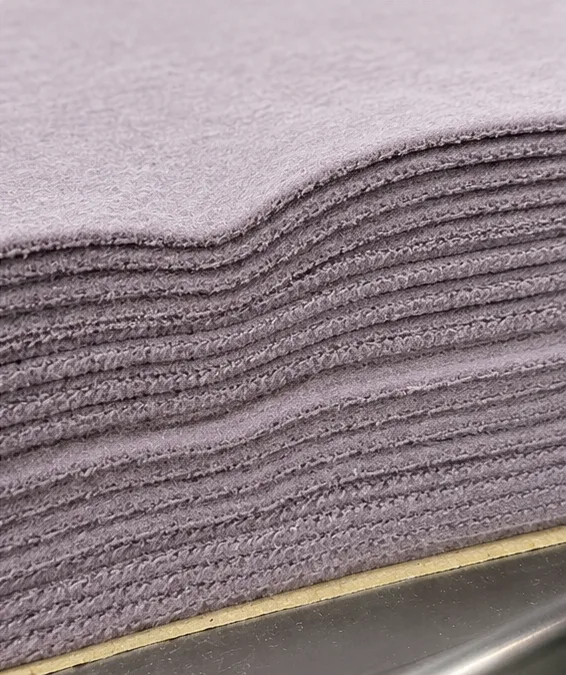
The edges of stacked fabric panels after cutting.
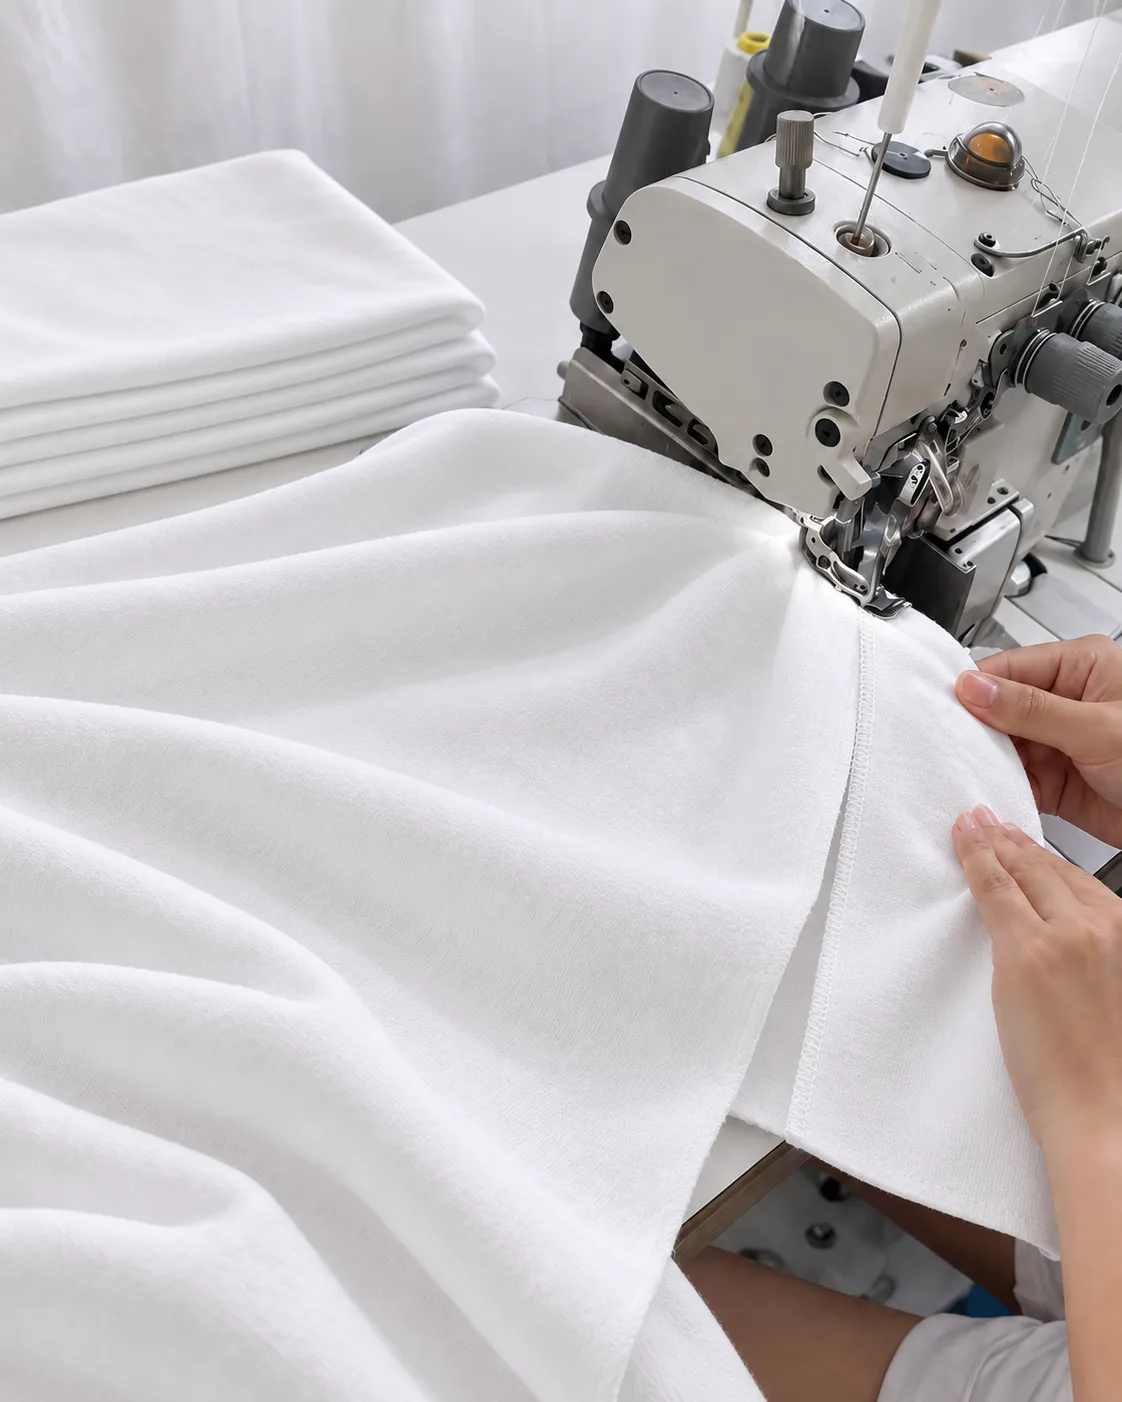
An overlock machine working along a white fabric edge.
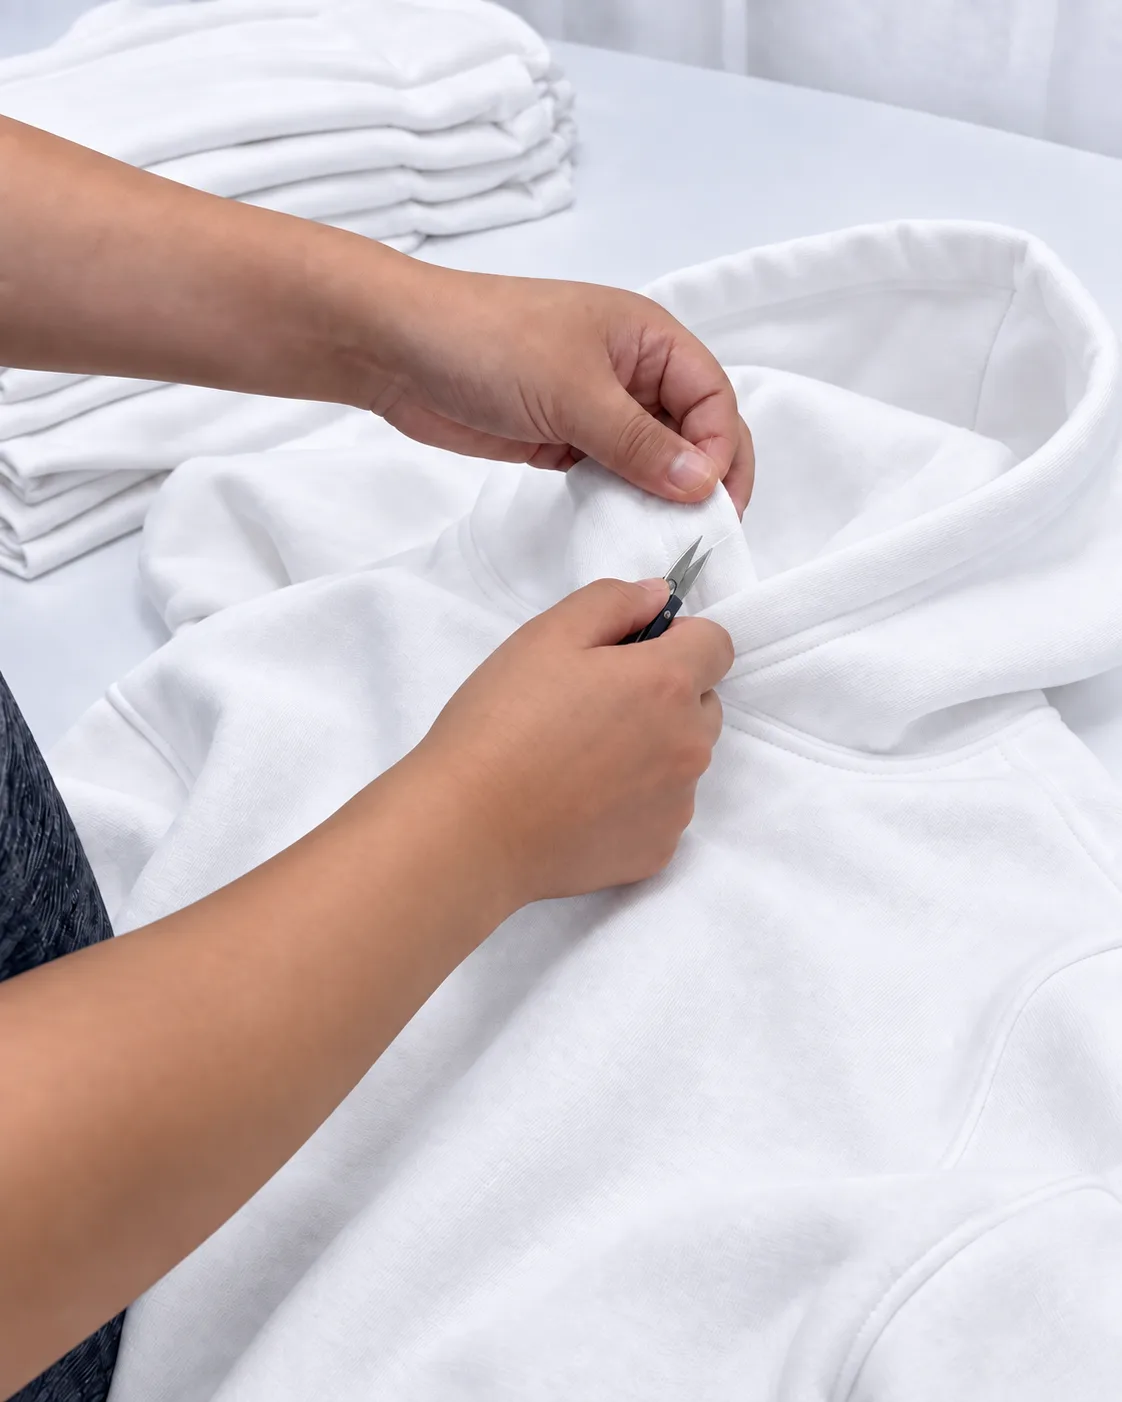
Thread ends trimmed by hand around the garment neckline.
Choose an existing style or send your garment references. We’ll discuss the development, decoration and sample stages needed for your brief.
Share the design and the total quantity you have in mind.