Hoodie Artwork and Label Checklist
Buying Guides
Turn a visual idea into a clear artwork brief. Use this checklist to connect original files, placement measurements, label copy, and the exact revision being reviewed.
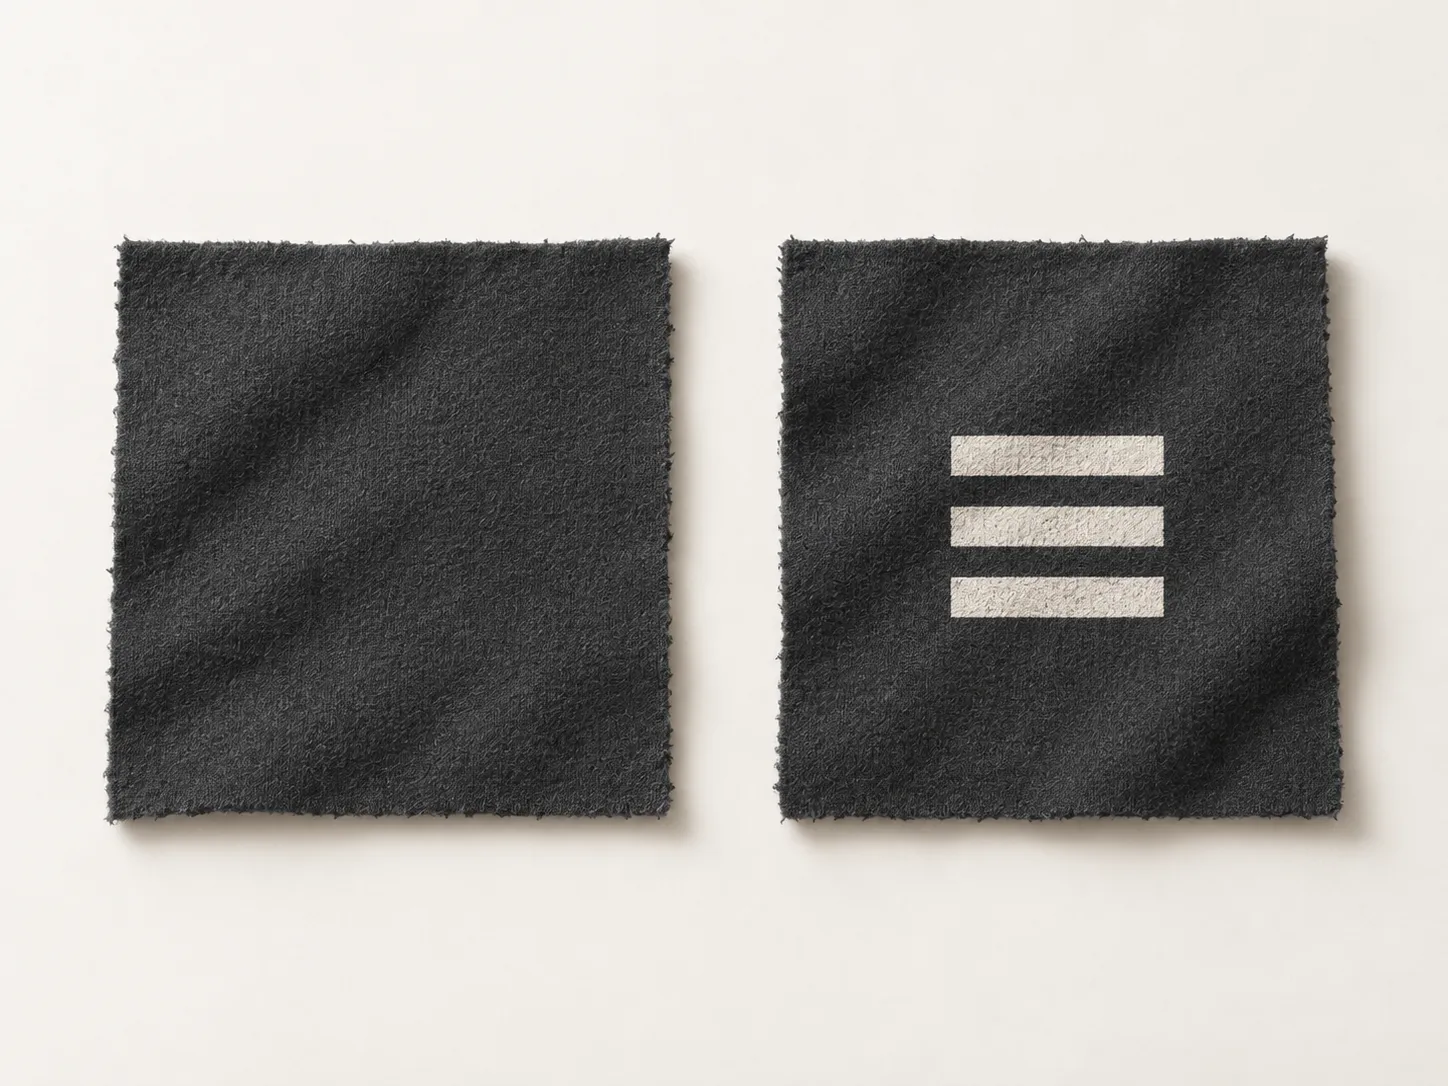
A hoodie mockup can communicate a design quickly. To discuss producing that design, a factory also needs to know which file to use, how large the graphic should be, where it sits, and which details are still open. Labels need the same clarity, even when their artwork is small.
Build a short, consistent brief around the garment reference. Keep the visual, written measurements, artwork files, and label details together so that a change in one place does not leave another page out of date.
Identify every artwork variation
Give each garment style and artwork its own reference. A black hoodie with a light chest logo and an ecru hoodie with a dark chest logo may share a drawing, but the artwork color instructions differ.
Record the style reference, garment color, artwork reference, revision, and applicable sizes. State whether a file applies to every color or only to named variants. If an element is still undecided, mark it as pending instead of leaving an empty space that could be interpreted as intentional.
Use descriptive filenames such as H01_front-logo_v03.pdf. Keep earlier versions outside the current handoff folder, while retaining them in your own records.
Send source files and finished dimensions
Supply the original artwork when available, alongside a viewable reference. Vector artwork can be resized without the resolution limits of pixel images; raster artwork needs to be assessed at its intended output size. A filename ending in PDF does not, by itself, establish the quality of its contents. Adobe explains raster and vector artwork.
Ask the receiving team to confirm suitable file formats and any required preparation. Include:
- The intended finished width and height, with units.
- Original image files used inside the design, where applicable.
- An editable master, plus an agreed approach to preserving type appearance.
- A reference showing intended transparency, background, and orientation.
Avoid making a small screenshot the only artwork source. Do not assume a universal resolution setting or a particular decoration method will suit every design; those details need review against the artwork and garment.
Use the intended method to focus the review: check stitch detail and backing for embroidery, raised shapes and spacing for puff printing, image detail and the garment base for digital / DTG printing, and print colors and their alignment for screen printing. Each method page explains what to include and what to examine on a sample.
Measure placement from named points
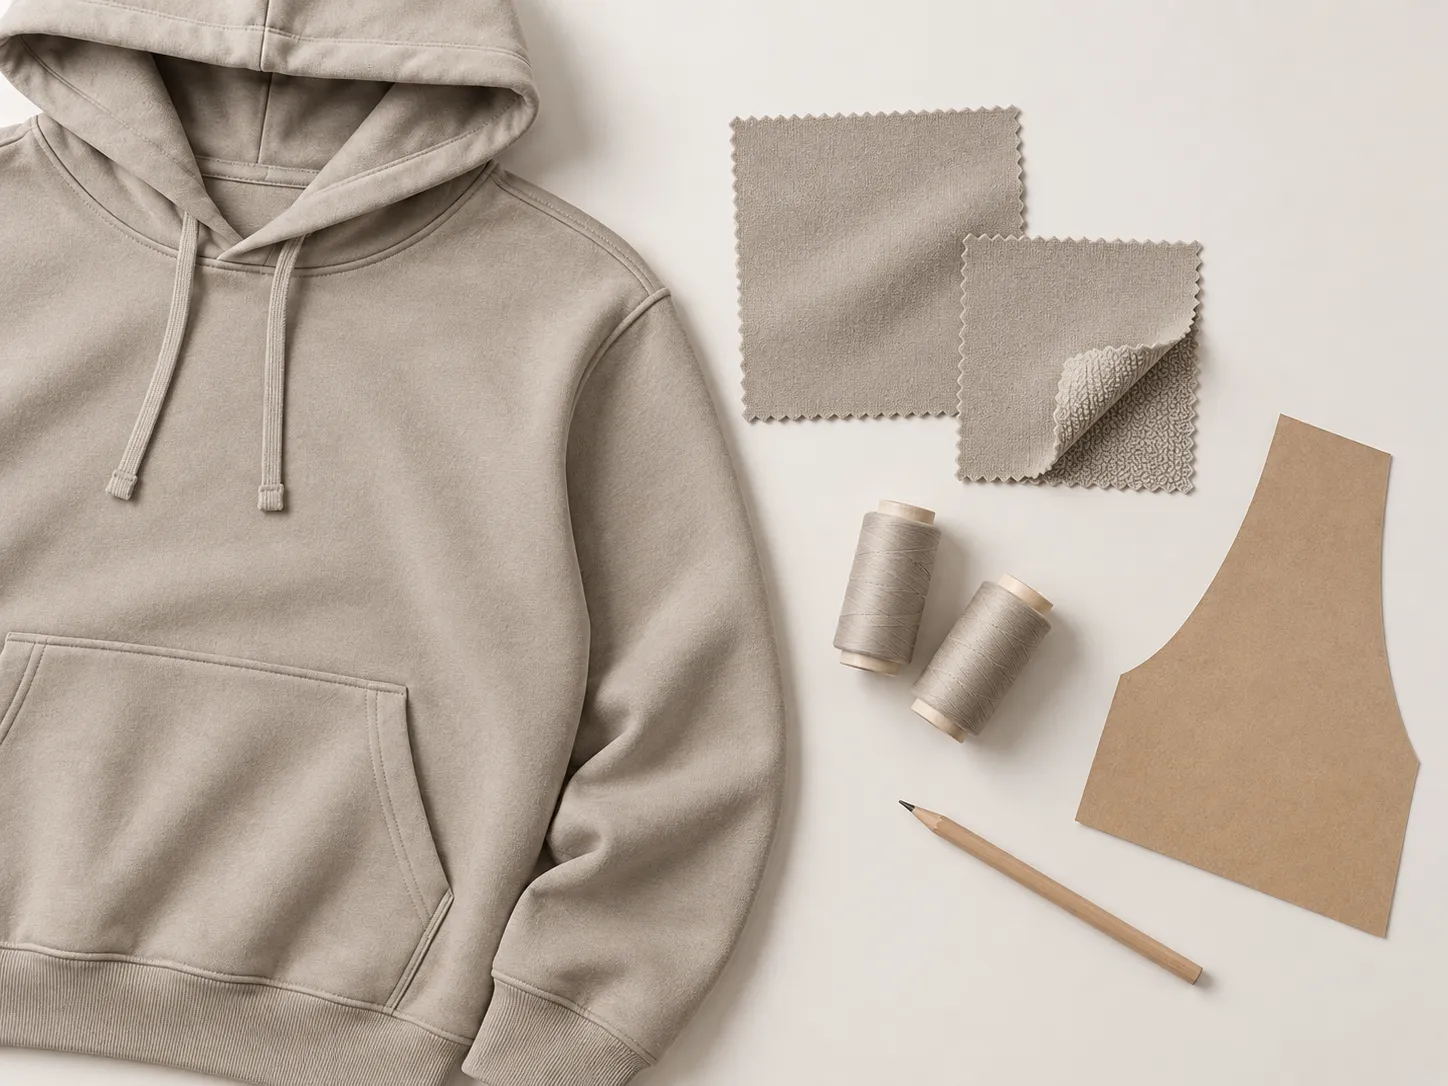
“Centered on the chest” leaves room for different interpretations. Show a straight garment view with the graphic outline, its dimensions, and distances from identifiable construction points. Define left and right from the wearer’s perspective.
For example, an illustrative brief might specify: front graphic, 280 mm wide by 180 mm high, centered on the garment center line, with its top edge 80 mm below the center-front neckline seam on size M. These numbers explain the format; they are not recommended dimensions.
Say whether the graphic keeps one size across the size range or needs separate sizes. Ask for review where the graphic approaches a pocket, seam, zipper, or hood. Agree how placement will be checked and what variation is acceptable rather than treating the drawing as a guarantee of exact positioning.
Separate artwork color from garment color
Give the garment and each artwork color distinct references. If using a named color system, include the complete system name and code, and identify any physical reference being supplied. A phrase such as “match our blue” is incomplete without the relevant reference.
Keep screen previews for visual communication. Devices and output processes can reproduce different color ranges, so a monitor image alone is not a physical color approval. Adobe’s color guide explains this distinction. Agree what physical reference or sample will be used to review the result on the selected fabric.
Specify each label separately
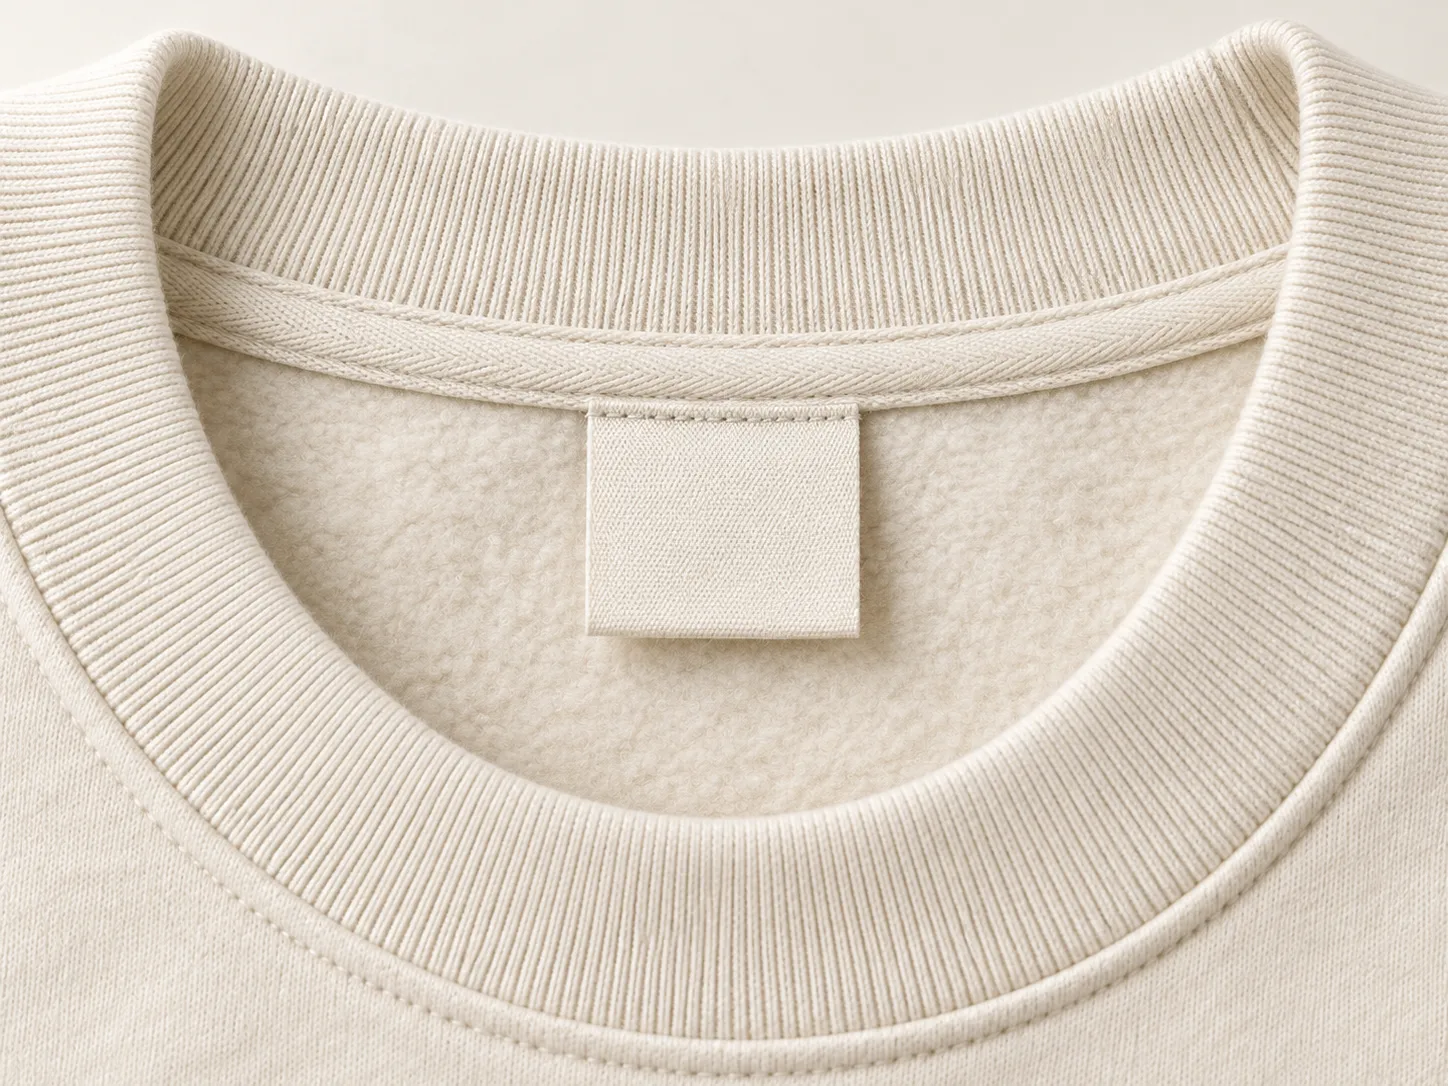
Create one entry for each label or tag being requested. Give it an identifier and link it to the appropriate styles and sizes. Include:
- Final wording, spelling, capitalization, and language versions.
- Finished visible dimensions and an artwork file reference.
- Intended position, orientation, and distance from a named seam or edge.
- Any fold or attachment area that must be distinguished from the visible face.
- Size-dependent text and the corresponding garment size.
Ask the factory to review the proposed construction and placement before treating either as agreed. Keep text editable in the brief for proofreading, even when the artwork shows outlined lettering. Supply confirmed product wording; do not let placeholder composition or care text become final copy by accident.
Approve a specific revision
Before confirming artwork, check that the style, color, dimensions, placement, label wording, and filenames all describe the same revision. Record who approved it and whether that approval covers a screen layout, a physical sample, or both. A screen layout cannot establish fabric feel, the finished decoration texture, or how a label sits when attached.
Use the customization overview to organize the request, then include your artwork references and open questions in a bulk order inquiry. A complete brief makes those questions visible before they become assumptions.